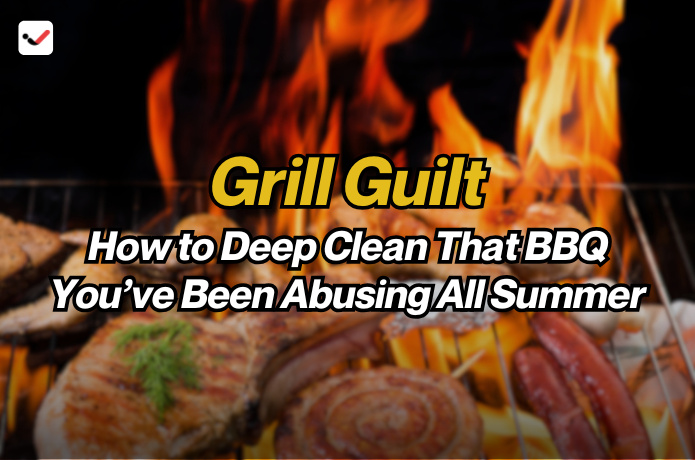
Grill Guilt: How to Deep Clean That BBQ You’ve Been Abusing All Summer
Grill Guilt: How to Deep Clean That BBQ You’ve Been Abusing All Summer
If your grill has taken a beating this summer—crusted with grease, blackened with burnt food, and dripping with old barbecue sauce—you’re not alone. Many people fire up their BBQ all season long and forget to give it the deep clean it really needs. But a dirty grill isn’t just gross. It ruins flavor, shortens your grill’s life, and even poses a fire risk.
Now’s the time to stop ignoring the mess. Whether you use a gas grill, charcoal smoker, or electric BBQ, a thorough cleaning will bring it back to life. Don’t worry—cleaning a grill doesn’t have to be complicated. With the right steps and tools, you can deep clean your BBQ and feel good about grilling again.
Step 1: Disconnect and Cool Down
Before anything else, make sure your grill is completely cool. If you're working with a gas grill, turn off the propane tank and disconnect it. For electric grills, unplug the unit. If you use a charcoal grill, let the ashes fully cool before touching anything.
Safety first. Cleaning a grill that’s still hot is risky and unnecessary. Starting with a cool surface makes it easier to handle all the parts and avoids burns.
Step 2: Remove and Soak the Grates
The grates take the most abuse, so give them extra attention. Remove them from the grill and place them in a large tub or bin filled with hot water and dish soap. Let them soak for at least 30 minutes. This helps loosen burnt-on food and grease.
While they soak, prepare your grill cleaning tools: a wire brush or nylon scrubber, a sponge, paper towels, and a degreaser or vinegar spray.
For very dirty grates, add baking soda to the water. This helps cut through thick grime without using harsh chemicals.
Step 3: Clean the Burners or Charcoal Tray
Gas grills have burner tubes that can get clogged with food bits, grease, or even spider webs. Gently scrub them with a small wire brush, moving across—not along—the burner holes to avoid pushing debris inside.
For charcoal grills, remove the old coals and scrape out the ash tray. Use a shop vac or dustpan and brush to clean up loose ash. Wipe down the inside of the firebox with a damp cloth.
This step is key for both safety and performance. Clean burners and fireboxes give you better heat control and more even cooking.
Step 4: Scrub the Inside Walls and Lid
Use a putty knife or grill scraper to remove carbon buildup from the inside of the lid and walls. Over time, smoke, grease, and burnt bits stick to the surfaces and create a flaky layer. Scraping it off reduces fire hazards and helps your grill heat more evenly.
Spray the inside of the lid and cook box with a 50/50 vinegar and water mix or use a BBQ-safe degreaser. Let it sit for a few minutes, then wipe it clean with a sponge or microfiber cloth.
This is one of the most effective grill maintenance tips for keeping your unit in good condition through multiple seasons.
Step 5: Tackle the Grease Trap
That hidden grease tray under the grill collects all the drippings, spills, and messes. Left uncleaned, it can start to smell, overflow, or even catch fire.
Slide it out and dump the old grease. Soak the tray in hot, soapy water, then scrub it clean. Rinse and dry thoroughly before sliding it back into place. For easier future cleaning, line the tray with aluminum foil or a disposable liner.
Regular grease tray cleaning is a must in any proper BBQ cleaning guide.
Step 6: Clean and Reassemble the Grates
Now that the grates have soaked, scrub them with your grill brush or a steel wool pad. Focus on any sticky spots and rinse thoroughly. Dry the grates with a towel or let them air dry completely.
If your grates are cast iron, coat them lightly with vegetable oil to prevent rusting. Once dry and seasoned, place the grates back in the grill.
This not only improves flavor but helps keep food from sticking the next time you grill.
Step 7: Wipe Down the Exterior
A clean grill inside still looks bad if the outside is greasy and stained. Spray the exterior with a non-toxic degreaser or vinegar solution. Wipe down all surfaces with a soft cloth or sponge.
For stainless steel grills, use a cleaner made for steel and wipe in the direction of the grain to avoid scratches. Don't forget the side shelves, knobs, and handles.
This gives your grill that fresh, just-bought look and helps protect it from rain, sun, and weather damage.
Step 8: Do a Safety Check
While you’re deep cleaning, do a quick grill inspection. Check hoses for cracks or leaks, make sure knobs turn smoothly, and confirm the ignition system works properly. If anything is broken, fix it before your next cookout.
This step is often skipped, but it can prevent accidents and extend the life of your grill.
Step 9: Burn Off Residue
Once everything is clean and reassembled, do a burn-off session. Light the grill and let it run on high heat with the lid closed for 10–15 minutes. This burns off any leftover soap, moisture, or residue.
Afterward, let it cool again, and your grill is ready to use.
Bonus Tips for Ongoing Grill Care
Clean lightly after every use. Brush the grates while they’re still warm.
Empty the grease tray weekly. It fills faster than you think.
Cover your grill. A weatherproof cover prevents rust and dirt buildup.
Use drip pans when cooking. They reduce mess and help with flavor control.
Store tools properly. Dirty tongs and brushes can attract pests.
These small habits reduce the need for heavy deep cleans later and make every BBQ easier and more enjoyable.
You don’t have to live with grill guilt. If your BBQ has been abused all summer, a deep clean is your reset button. You’ll get better flavor, safer cooking, and a longer-lasting grill. Whether you’re working with propane, charcoal, or electric, a clean grill performs better and makes every cookout smoother.
Don’t wait until the end of the season. Take a couple of hours to deep clean your grill now, and you’ll enjoy the rest of summer with less mess and more pride.